07/05/2019
Khuzema Darugar,
CADTech USA LLC
A fracture in the metacarpal bone near the knuckle or more commonly known as a Boxer’s fracture is the result of punching an immovable object at a relatively high speed. A classic boxer’s fracture is most common in the fifth (little) and fourth (ring) finger of the hand. Common symptoms are pain and swelling, restricted movement of the fingers and in some cases misalignment of the fingers near the knuckle. After initial treatment of a boxer’s fracture, a splint (orthotic) will have to be worn for several weeks for the fracture to properly heal.
The idea for a slim-fit orthotic for a boxer’s fracture came about during a demo visit to a local primary care physician, here in Houston, Texas. This particular physician, in addition to his many achievements specializes in Sports Medicine. He pitched us the idea for creating the prototype during our conversations with him on current technologies like 3D scanning and 3D printing and how to utilize them in the medical field.
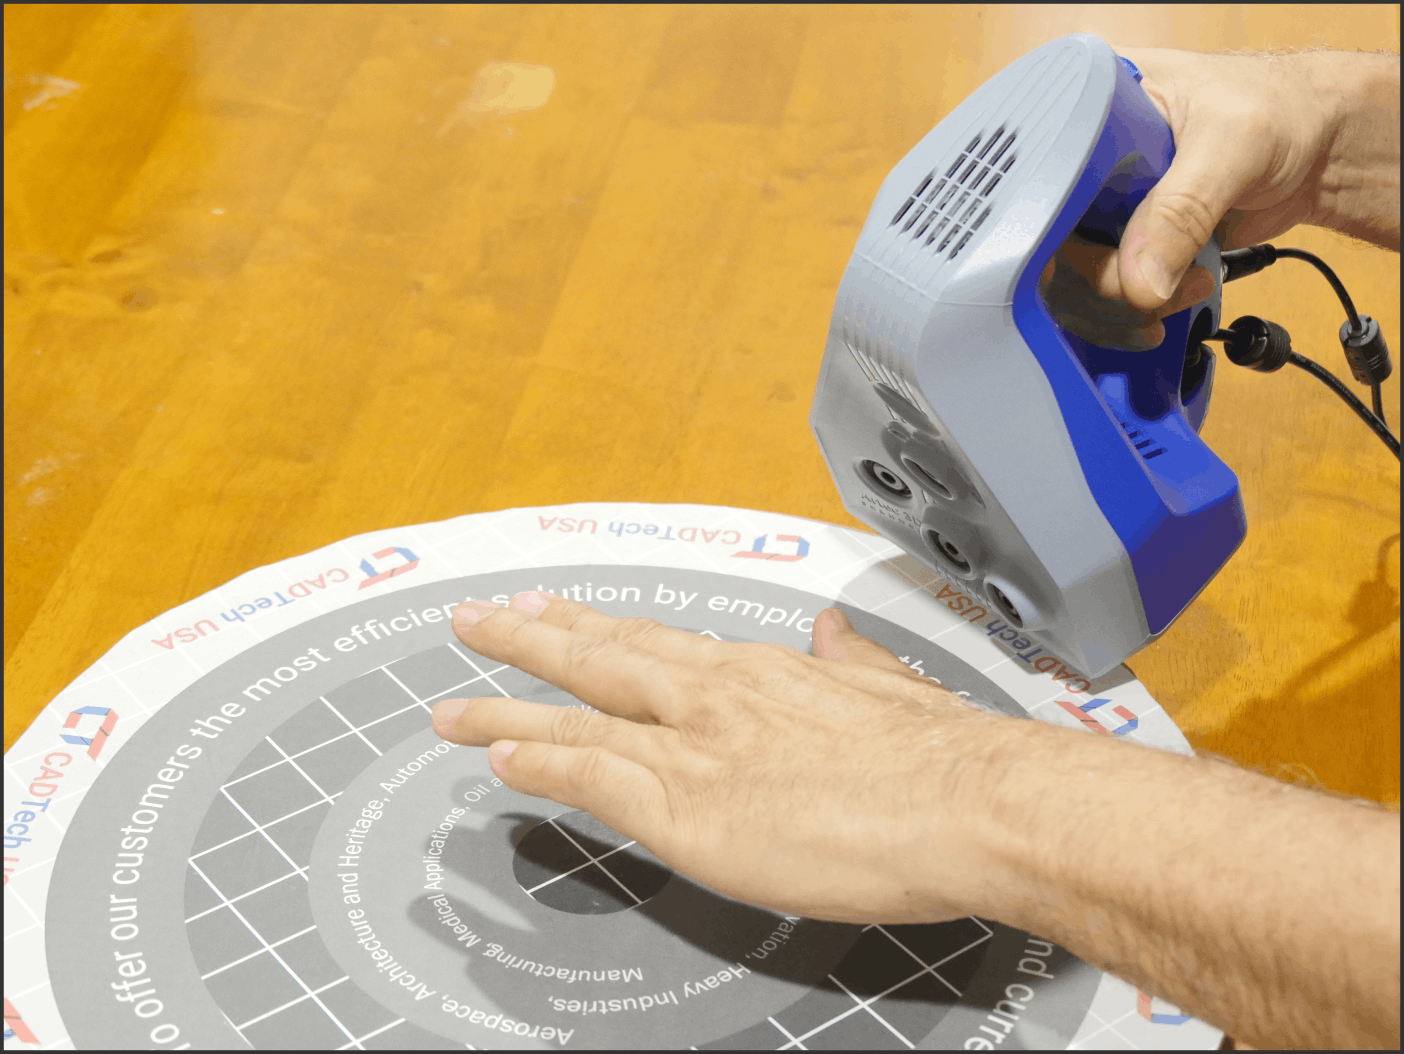
Using an Artec Space Spider to scan a hand in Artec Studio
To create such a slim orthotic, we needed to know the shape of the hand and how it contours. Due to the complex and freeform geometry of a human hand, a 3D scanner was the only way to go. Using our in-house Artec Space Spider and the Artec Studio software, we were able to easily capture a high-resolution and detailed scan of a hand of one of our designers in a matter of minutes. Once the scan was completed a mesh of the hand was generated and exported into the design software.

Scanned hand shown in Artec Studio
The next step was to import the 3D scanned mesh into a CAD software for creating the orthotic. We used Solidworks as our CAD package of choice. We started by extracting the surface profile of the hand and using it as the base for the 3D model. Once the overall shape based on the contours of the palm and fingers was created, we moved on to add the necessary cutouts for the Velcro strap and some for ventilation.
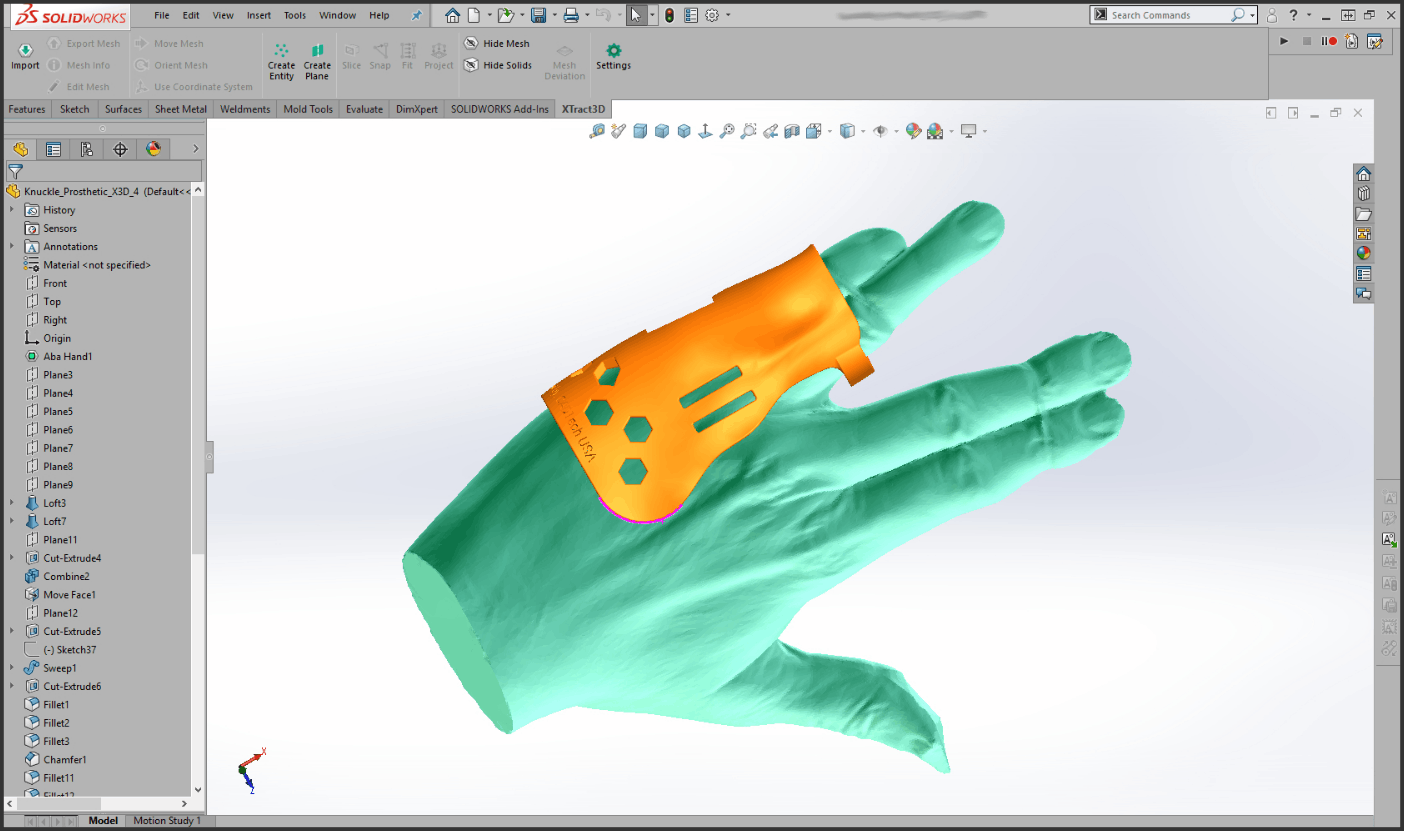
Scanned mesh imported into Solidworks for designing the orthotic
Once the initial prototype design was finalized, the model was sent to our in-house Formlabs 3D printer. In a matter of hours (3-4 hours of waiting for the print to complete and some additional time for cleaning up the model), we had a physical copy of our design. The Velcro strap was then glued on and the prototype was complete.
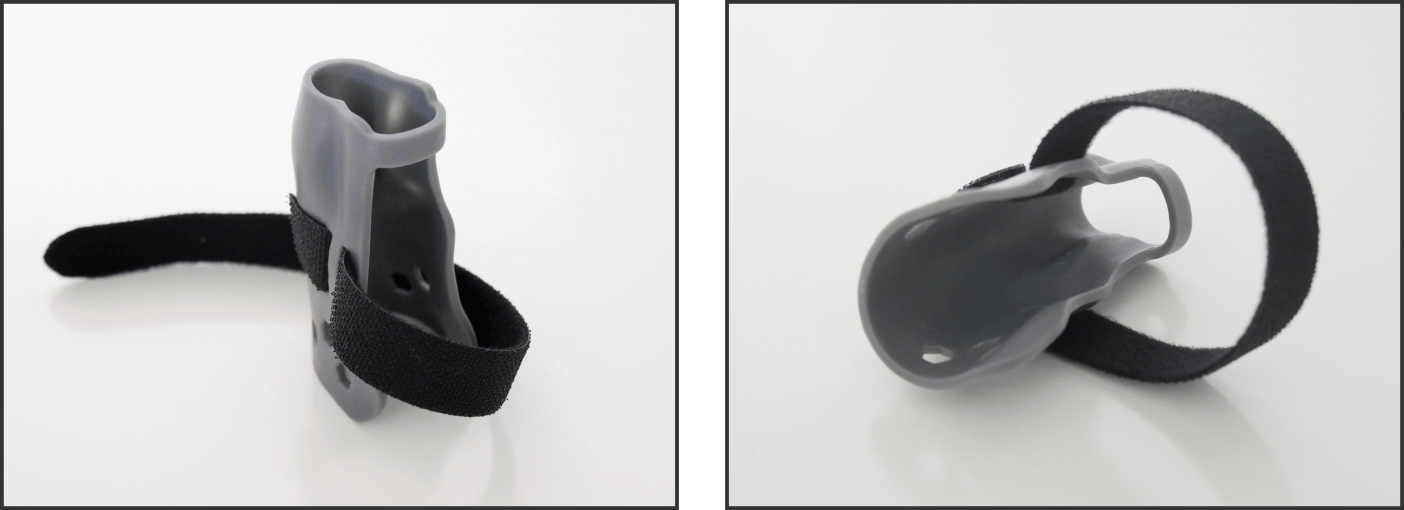
Initial prototype 3D printed on a Formlabs 3D printer
Moving forward we had our designer wear it on his hand to check the fit and to see how comfortable it was. As per the design, the fit and comfortability was just right because the freeform geometry was based on the contours of the hand. In addition, the low-profile size of the splint allowed the remaining two fingers, thumb and base of the palm to have free movement. We also tested the prototype on other hands including that of the local primary care physician and some of his assistants to see how it fit on their hands. To our surprise, the fit was quite snug and almost universal on hands that were medium to large.

Front and back of hand showing how the prototype sits on the hand
As technologies like 3D scanning and 3D printing are becoming better, we at CADTech USA are well equipped to take ideas from concept to a physical prototype. By having both a 3D scanner and 3D printer in-house, we can easily reduce design time and provide our customers a more affordable option.
Contact us if you have a project that requires our Scan-to-CAD and Mechanical Design for taking an idea all the way to a working prototype.


